Starfish Ray
Overview
The Starfish Ray is a light-weight footprint service installed on a client machine which enables the movement of data from a system behind the firewall to other cloud-based systems. Our cloud hosted Starfish software facilitates this movement of data. The Ray establishes a SSL connection (typically over websockets) to our hosted environment, then listens for requests. The Ray authenticates using a predefined Auth Token. After authentication, the Ray listens for requests from the server to pull or push data. This is always done in real-time - no data is ever stored on the server. This design enables database and legacy software to communicate with cloud applications without the need to open ports or punch holes in the customer's firewall.
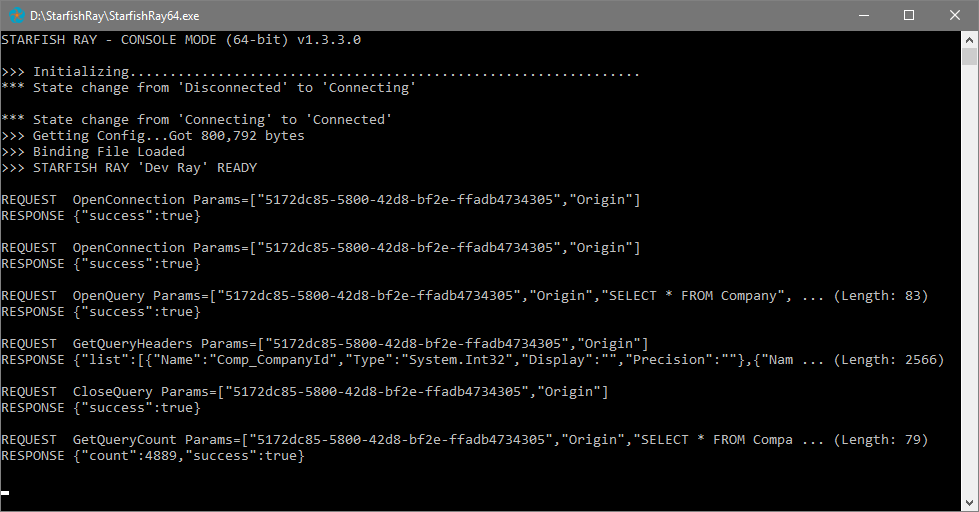
Starfish Ray running in Console Mode
Installation Requirements
Both the 32-bit and 64-bit versions of the Starfish Ray require .NET 4.7.1.
Installation
- Log into your account at https://designer.starfishetl.com
- Click Connections -> New Ray. Give it a name and click Save.
- On the Manage Rays page, download the Ray software ZIP file and extract it to a path on your PC. (ie: C:\StarfishRay)
- To 'Unblock' the downloaded files, it may be necessary to run the following PowerShell command: Get-ChildItem -Path 'C:\StarfishRay\' -Recurse | Unblock-File
- Edit the StarfishRay64.exe.config file with a text editor.
- Ensure the ConnectorPath setting is pointed to a valid path. (ie: C:\StarfishRay\Connectors)
- Copy & Paste the Ray ID and Token from the browser into the config file in the corresponding settings.
- Save the config file.
- To run Starfish Ray as a CONSOLE application, simply launch StarfishRay64.exe. When running in console mode, you must ensure the application stays open and running.
- To run Starfish Ray as a WINDOWS SERVICE application, run the "_Install 64-bit Service.bat" batch file (As Administrator). Then go to Services, and find "Starfish Ray (64-bit)" and Start it.
Platform Options include 32-bit and 64-bit
There is also a 32-bit version of the Starfish Ray available in the download (StarfishRay32.exe). Use this only in cases where you need to use ODBC or OLEDB with 32-bit drivers.
Related Articles
Starfish ETL Scheduler
Installation The Scheduler is a run as Windows Service. It may installed on any server which has access to the web service, but for the sake of simplicity it is recommended to be installed the same server as the Starfish Engine. The Scheduler reads ...Starfish ETL Admin
You will install the Admin tool on the workstation where you plan to do your job development. The installation requires the .NET Framework 4.0, and will need the ability to access the web service set up in the previous step. An easy way to test this ...Starfish ETL Monitor
Installation Beginning with Starfish ETL 3.8, the StarfishETL Monitor service is included and created when you install the StarfishETL Scheduler. The Monitor service's Startup Type is set to 'Manual' by default. If you wish to use this service, you ...Import Starfish Map file from a locally stored *.SPD file
Import Starfish Map file from a locally stored *.SPD file Step Snapshot Go to project and select the Import view Select Browse to import the *.spd file Select *.spd file from directory folder. Once the import is complete, the project will be added to ...Installation
Server Requirements This short guide has all the technical information you need to know about the server requirements for StarfishETL. Installation Instructions StarfishETL Engine This guide is designed to get the backend of StarfishETL running ...
